
Celebrate Tu B’Shevat With Chocolate Bark
Ring in the new year of the trees, even when it’s the middle of winter
February 02, 2015
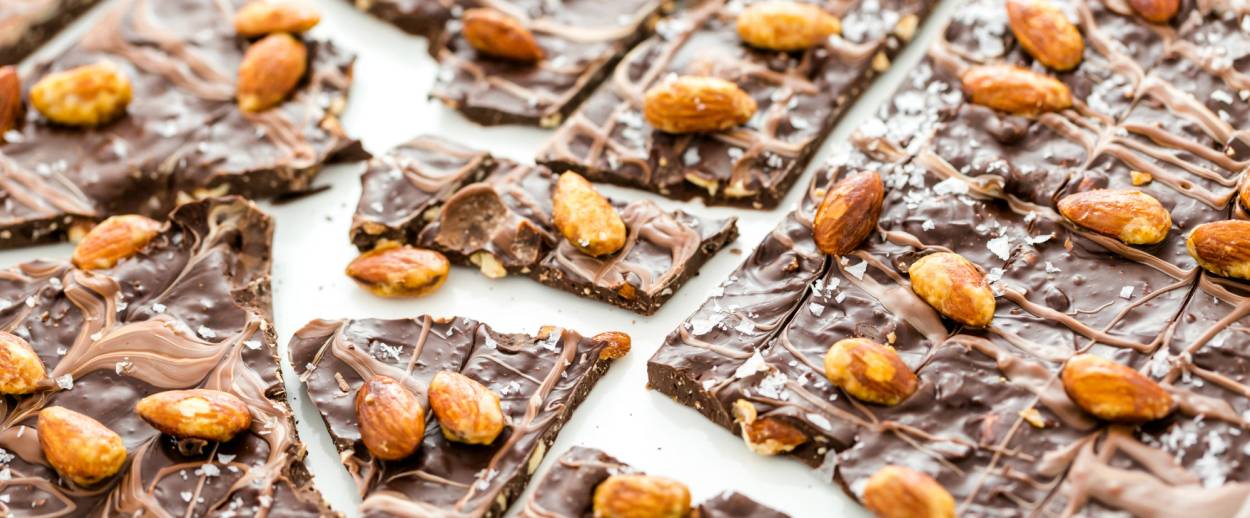
Chocolate bark with almonds Shutterstock

Wouldn’t it be fun to celebrate the sweet, bright, optimistic holiday of Tu B’Shevat, the Jewish festival of trees and nature and rebirth, with a meal that featured a fresh fruit or vegetable in each of its courses—all bursting with ethereal symbolism and earthly blessings? But let’s be real: For those like me who live in the American Northeast, Tu B’Shevat falls right in the heart of winter. And the only fresh snap to be had these days come from bootsteps on the ice and some people’s wintery attitudes.
But chocolate is always in season. Winter offers the best conditions for chocolate making—and given people’s seasonally affected moods, it’s probably when it’s most necessary. It would be a shame to let Tu B’Shevat pass without some acknowledgement of the flavorful offerings of nature. Dried fruit and nuts are tasty and healthy cold season snacks. They become fantastic treats when they are toppings on your favorite variety of chocolate. Chocolate bark can satisfy any hibernal hankering—and it can also count as a Tu B’Shevat mitzvah.
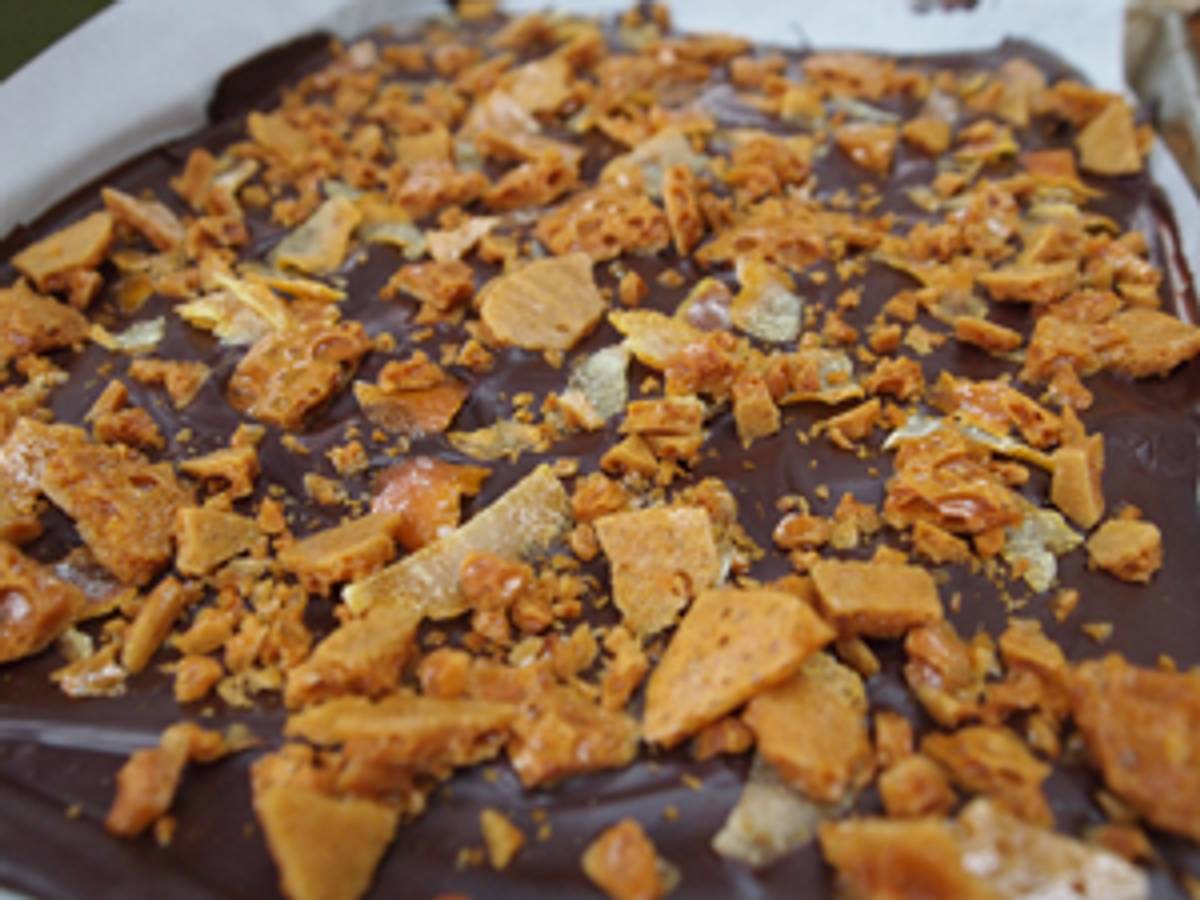
Below are three styles of bark based on three kinds of chocolate: dark, milk, and white. The dark chocolate orange cardamom honeycrunch offers a satisfying snap and a bright citrus profile. Five-spice glazed almonds, toasted ramen crisps, dried cherries, and sesame seeds balance perfectly on top of a smooth milk chocolate surface. And for the unapologetic sweet-tooth there is a Thai-inspired white chocolate-lime bark with coconut crisps, chopped salted peanuts, and red pepper flakes for some color and heat.
About tempering chocolate:
Tempering is what you call the process of making glossy, good-looking chocolate that snaps when you break off a piece. It’s not essential to taste and has more to do with texture and appearance. There’s science behind the process (cool, dry environments are ideal), and you’ll also need some patience and a little bit of luck. With microwave guidelines, bear in mind that both chocolates and ovens may vary.
You will need: a candy thermometer (digital is most accurate), a rubber spatula, and a baking tray lined with parchment paper. I used three cups (two 11 oz. bags) of chocolate chips in each of three preparations below.
Dark chocolate: Place 2 cups of the chocolate in a large microwave-safe bowl. Heat at full power for 60 seconds. Stir chocolate chips.
Return to microwave and heat at full power for another minute. Remove and stir again.
Return to microwave and heat for another 60 seconds. After some vigorous stirring, the chocolate should melt together. If not, place in microwave and heat for 30 seconds more.
Chocolate should be in the 113-122 degrees range. When it reaches that range, cool it by adding reserved cup of chocolate and vigorously stirring until chocolate cools to 82-84 degrees.
This is where the patience comes in. Once it cools, return to microwave for 10-15 seconds to raise temperature to 88-90 degrees. It should now appear smooth and glossy.
With your spatula, smooth it out evenly over prepared baking sheet. Work quickly to spread and scatter toppings over the chocolate surface as tempered chocolate molds quickly.
Milk chocolate: Use two 60-second full-power intervals stirring well in between each. Check that temperature is between 104-113 degrees and the chocolate melts when stirred. If not, microwave for another 30-45 seconds.
Once target temperature is reached, add reserved cup of chocolate and stir until temperature drops to 80-82 degrees. Return to microwave for another 10-15 seconds until temperature reaches 86-88 degrees.
White Chocolate: Follow milk chocolate directions above. Melting point for white chocolate is 104 degrees. Cool to 74-76 degrees, then heat to 80-82 degrees.
Dark Chocolate Orange Cardamom Honeycrunch:
• Dark chocolate base (above)
• Cardamom honeycomb (below)
• Candied orange rind (below)
Prepare dark chocolate layer. Spread evenly over parchment-lined baking sheet. Scatter handfuls of cracked cardamom honeycomb over surface along with candied orange strips. Allow to cool and harden. Break into bite-size pieces.
Cardamom Honeycomb
1 teaspoon baking soda
1 1/4 cup sugar
1/4 cup water
2 tablespoons honey
1 teaspoon cardamom
Line a baking pan with parchment paper. Keep the baking soda in arm’s reach so that it’s ready to go. Place the sugar, honey, and water in a medium-sized saucepan. Stir together and heat to 300 degrees on a candy thermometer. (You can eyeball it if necessary. Mixture becomes a deep medium amber color after about four minutes of boiling.)
When caramel honeycomb reaches the right temperature (or shade), turn off heat and quickly whisk in cardamom and then the baking soda. It will froth right up. Carefully pour the mixture onto your prepared tray. Allow an hour or two for cooling and then enjoy cracking it into bite-size pieces for bark.
Candied Orange Rind
2 medium sized oranges, scrubbed well
2 cups sugar
With a sharp paring knife, cut peel on each orange into four vertical sections. Remove each section, including the white pith, so that you are left mostly left with the stubbly orange skin. Cut the peels into 1/2-inch strips. Alternately: If you have a really good vegetable peeler you can use it to peel off skin. Boil orange peels in a large pot of boiling water for around 15 minutes, drain, and rinse.
Bring 2 cups of sugar and 2 cups of water to boil in saucepan over medium heat, stirring to dissolve sugar. Add peels, bring to a boil, and then reduce heat to a gentle simmer until peel is very tender and almost translucent in appearance—approximately 45 minutes. Drain, and reserve the citrus-scented simple syrup for another use (cocktails, iced coffee, or tea drinks).
Space peels out on a parchment-lined baking sheet and let stand overnight until peels are dried.
Five Spice Almond & Sweet-Tart Cherry Milk Chocolate Bark
Milk chocolate base
1 tablespoon sesame seeds, toasted
five-spice glazed almonds (recipe below)
crunchy ramen noodles (recipe below)
1/2 cup dried cherries
Prepare milk chocolate bark base, sprinkle evenly with toasted sesame seeds, top with five-spice almonds, pressing down into chocolate base so that the almonds become part of the chocolate. Scatter ramen noodles over bark, pressing down lightly. Finish with the plump sweet-tart cherries.
Five-Spice Glazed Almonds
1 cup whole raw almonds
1 teaspoon toasted sesame oil
1 teaspoon five spice
pinch of cayenne pepper
1 tablespoon sugar
1/4 teaspoon kosher salt
Preheat oven to 350 degrees. In a medium bowl, toss the almonds in the toasted sesame oil. Spread out almond on a baking pan in a single layer. Bake for 10 minutes.
In the meantime, in the bowl used for the almonds, mix the spices, sugar, and salt.
When ready, remove almonds from oven and place into bowl. Fold almonds into the spice
mixture until well-coated. Return to baking pan and then back into oven for five more minutes.
Remove from oven and cool.
Crunchy Ramen
1 packet ramen, crushed (flavoring packet reserved for another use)
1 teaspoon olive oil
Heat olive oil in small skillet over medium high-heat. Add crushed ramen to hot oil and stir until toasty colored and textured (about 90 seconds).
Zesty White Chocolate with Salted Peanuts, Crunchy Coconut, and Spicy Pepper Flakes
White chocolate base
2 limes, scrubbed and zested (about 2 tablespoons)
1/3 cup coconut chips (available at health food stores)
1/2 cup salted peanuts, chopped
1/4 teaspoon red chili flakes
With a rubber spatula fold lime zest into melted white chocolate. Spread out evenly on prepared baking sheet. Sprinkle coconut chips over chocolate, follow with chopped peanuts, and then scatter red chili flakes.
Rachel Harkham is the author of Get Cooking! A Jewish American Family Cookbook. You can find more of her recipes here.


