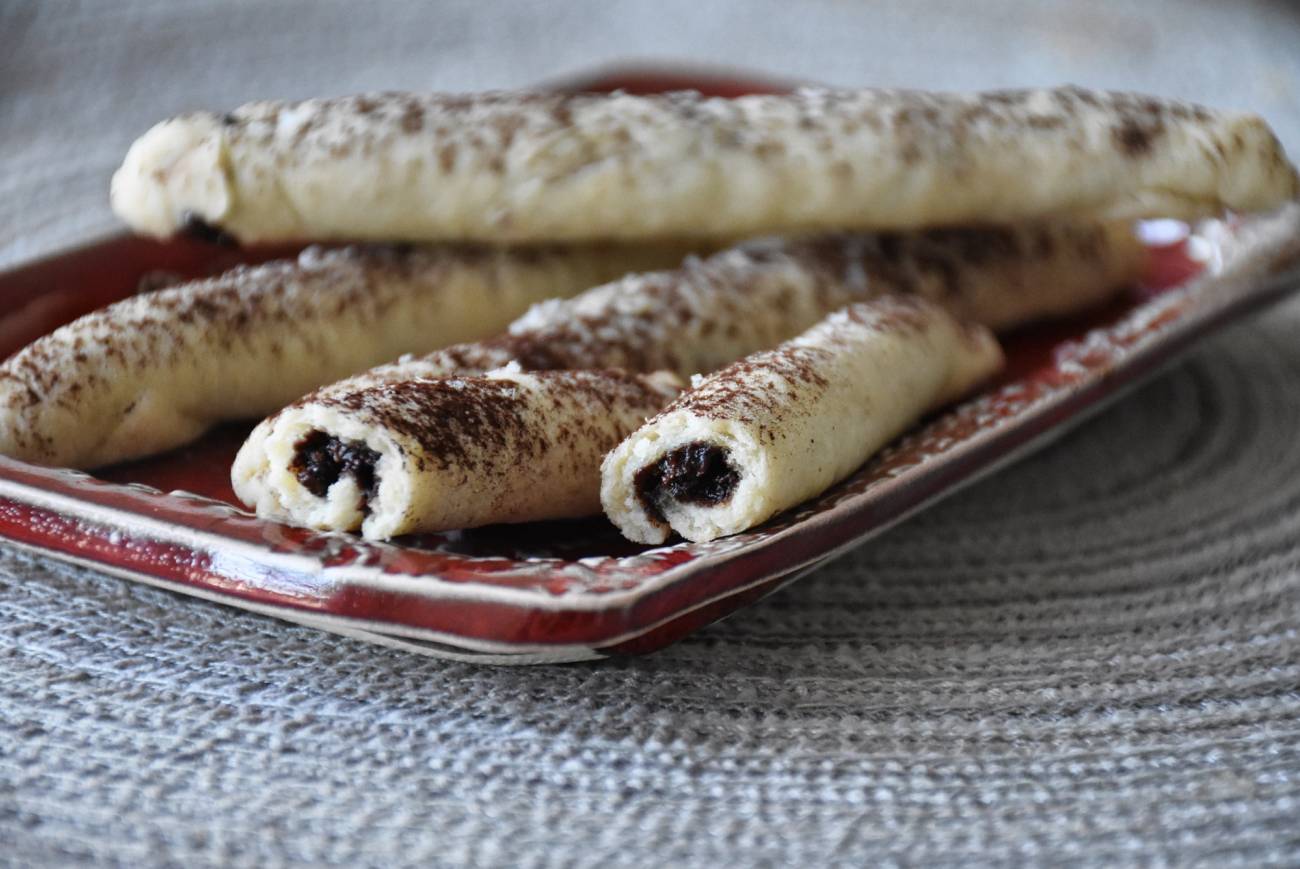
Bittersweet chocolate takes center stage (replacing the traditional nut-and-honey filling) in this new beguiling version of Jewish Italian sfratti, which means “evictions.” These stick-shaped pastries nod to the authorities’ weapons as well as the Italian Jews’ overcoming that hardship. Cayenne pepper brings spice and an intriguing warmth (but adjust the amount of heat to your liking). Thoroughly chill the dough before assembling the sfratti, and keep a damp towel nearby for wiping your hands as you go. A little bit of chocolate leaking out of the pastries during baking is OK, and you can easily break it off once cooled (consider it the baker’s bonus nibble). A specialty of the Tuscan town of Pitigliano, sfratti evolved from a Rosh Hashanah treat to an anytime one.

Spicy Chocolate Sfratti
Ingredients
For the Pastry
- 3cups all-purpose flour, plus more as needed
- ¾cup sugar
- ½teaspoon kosher salt
- 6tablespoons cold unsalted butter
- 1teaspoon vanilla extract
- ⅔cup dry white wine (such as Pinot Grigio)
For the Filling
- 1 ½cups bittersweet chocolate chips
- 2tablespoons unsweetened cocoa powder
- ½teaspoon ground cayenne pepper, or to taste
- ⅓cup honey, plus more as needed
For Finishing the Pastries
- Flaky sea salt and cocoa powder for sprinkling
Yield: 30 pastries
Preparation
To make the Spicy Chocolate Sfratti
- Step 1
In a large bowl, whisk together the flour, sugar, and salt. Grate the butter using the large holes of a box grater directly into the bowl. With your fingers, work in and thoroughly coat the butter shreds. Combine the vanilla and wine and gradually stir the liquid into the dry ingredients until the dough just holds together when you squeeze a handful (you will likely have a tablespoon or so wine mixture left over).
- Step 2
Divide the dough into three equal balls. Roll one ball on a lightly floured surface or between two sheets of lightly floured wax paper to an approximate 10-by-10-inch square, squaring off the edges to keep it even. Repeat with the remaining dough balls. (If your dough is too sticky to work with, gently work in a little more flour before rolling.)
- Step 3
Place dough squares between sheets of waxed paper, wrap, and chill at least a few hours or up to two days.
- Step 4
To make the filling: In a small food processor, process the chocolate chips to small pebble-size pieces. Add the cocoa powder and cayenne, and pulse a few more times to mix well.
- Step 5
Transfer the chocolate mixture to a bowl, and work in the honey a few tablespoons at a time just until the mixture is moistened and sticks together when squeezed. It should not be gooey.
- Step 6
To make the pastries: Preheat the oven to 400. Line two baking sheets with parchment paper and set aside.
- Step 7
Remove one dough sheet from the refrigerator, and transfer to a lightly floured surface. Gently reroll to the 10-by-10-inch size as needed.
- Step 8
Working quickly to prevent the dough from getting too soft, cut the dough into five 2-inch bands.
- Step 9
Form about 1 tablespoon of filling into a thin craggy line along one long edge of a dough strip so that the chocolate extends to within 1/4- to 1/2-inch of each end. Roll the dough snugly around the filling, tucking the filling in as you roll and pinching firmly to seal the seam and ends. Don’t overfill—if you need to stretch the dough to cover the filling, use a little less filling (stretched dough will be more likely to pop open during baking).
- Step 10
Cut the roll in half crosswise to create two sticks, and pinch to seal the cut ends (you can borrow some dough from the other end if needed for patching). Gently roll each cookie on the counter to even the shape and ensure the seam is sealed.
- Step 11
Transfer to the baking sheet, seam side down. Repeat with the remaining dough strips and then the remaining dough sheets. Sprinkle the rolled cookies lightly with sea salt, pressing gently if needed to help it adhere. Freeze the pastries about 30 minutes.
- Step 12
Bake for 10 to 14 minutes, until the tips are just beginning to turn light golden brown and the bottoms are lightly golden.
- Step 13
Let cool a few minutes, then dust with cocoa powder. Store cooled pastries in an airtight container.